People Mentioned
Installing GPT-SoVITS with ROCm Support on Linux
In this post, I’ll guide you through the process of installing GPT-SoVITS on a Linux machine, with optional ROCm support for AMD GPUs. Whether you’re into AI, speech synthesis, or just exploring new tech, setting up GPT-SoVITS can be tricky, especially when it comes to configuring ROCm. This guide will make the process easier, whether you choose to enable ROCm or not.
Prerequisites
Before getting started, make sure you have a Linux machine with an AMD GPU (for ROCm support), or if you are just setting it up without ROCm, a standard setup will do. We'll also need Python 3.9 installed to ensure compatibility.
Warnings
- ROCm Support: If you’re planning to use ROCm with PyTorch, make sure you have an AMD GPU that supports it. Not all AMD GPUs are compatible with ROCm.
- Linux Only: This guide is for Linux machines only. If you’re using Windows or macOS, you might need to adapt the steps accordingly.
- Commands: These commands are for Ubuntu and Debian-based distributions. If you’re using a different distribution, you might need to adjust the commands.
Step 1: Install Python 3.9 & Additional Libraries
You’ll need to install Python 3.9 and some additional libraries to get started with GPT-SoVITS, python 3.9.x is required for compatibility with some of the pip packages.
- Add the repository for Python 3.9:
sudo add-apt-repository ppa:deadsnakes/ppa
sudo apt update- Install Python 3.9:
sudo apt install -y --no-install-recommends python3.9 python3.9-dev python3.9-venv- Install additional libraries:
sudo apt install -y --no-install-recommends tzdata ffmpeg libsox-dev parallel aria2 git git-lfsStep 2: Clone the GPT-SoVITS Repository
Now let’s clone the GPT-SoVITS repository to your local machine.
- Create a folder for your workspace (choose any location):
cd ~/Documents- Clone the GPT-SoVITS repository:
git clone https://github.com/RVC-Boss/GPT-SoVITS
cd ./GPT-SoVITS # Move to the repository directory
Step 3: Set Up a Virtual Environment
Though it’s not everyone's favorite step, I highly recommend using a virtual environment. It keeps dependencies isolated and makes your life easier.
- Create a virtual environment:
python3.9 -m venv gptSovitsVenv- Activate the virtual environment:
source gptSovitsVenv/bin/activate- Deactivate when you’re done (if needed):
deactivateStep 4: Optional: Install ROCm Support (For AMD GPUs)
If you have an AMD GPU and want to use ROCm for improved performance, you’ll need to install PyTorch with ROCm support.
- Uninstall the default
torch,torchaudio, andtorchvision:
pip uninstall torch torchaudio torchvision- Install PyTorch with ROCm support:
Note: As of writing this guide, the latest version of ROCm is 6.3. Make sure to replace
rocm6.3with the correct version if it has been updated.
pip install --pre torch pytorch torchvision torchaudio --index-url https://download.pytorch.org/whl/nightly/rocm6.3/
pip install --upgrade --upgrade-strategy eager optimum[amd]
Step 5: Install Dependencies
Install the necessary dependencies for GPT-SoVITS, please note that if you failed to install the additional libraries in step 1, you might encounter errors during this step.
- Upgrade
pip:
pip install --upgrade pip- Install essential packages:
pip install --upgrade setuptools- Install the requirements:
pip install -r ./requirements.txtStep 6: Test Your PyTorch Installation (Optional)
Note: If you are using ROCm, you should still see
CUDA available!if everything is set up correctly.
Make sure that PyTorch is properly installed and can detect your GPU (if applicable).
- Run the following Python command to test CUDA availability:
python -c "import torch; print('CUDA available!' if torch.cuda.is_available() else 'CUDA not available!')"If you’re using an AMD GPU with ROCm / Nvidia GPU, it will print CUDA available! (you may see CUDA not available! if using a different setup).
Step 8: Set Up Pretrained Models
Now let’s set up the pretrained models needed for GPT-SoVITS.
Important: You need to be in the root directory of the cloned repository to run these commands.
- Create directories for the pretrained models:
mkdir -p ./GPT_SoVITS/pretrained_models
mkdir -p ./tools/damo_asr/models
mkdir -p ./tools/uvr5- Clone the necessary models:
git clone https://huggingface.co/lj1995/GPT-SoVITS ./GPT_SoVITS/pretrained_models
git clone https://www.modelscope.cn/damo/speech_paraformer-large_asr_nat-zh-cn-16k-common-vocab8404-pytorch.git ./tools/damo_asr/models
git clone https://www.modelscope.cn/damo/speech_fsmn_vad_zh-cn-16k-common-pytorch.git ./tools/damo_asr/models
git clone https://www.modelscope.cn/damo/punc_ct-transformer_zh-cn-common-vocab272727-pytorch.git ./tools/damo_asr/models
git clone https://huggingface.co/Delik/uvr5_weights ./tools/uvr5- Move the model weights to the appropriate directory:
mv ./GPT_SoVITS/pretrained_models/GPT-SoVITS/* ./GPT_SoVITS/pretrained_models/Step 9: Download Additional Weights
Some additional weights might be needed, like the Nagisa model. Download it from HuggingFace:
- Download Nagisa.zip from this link.
- Extract the
.pthfiles to the./GPT-SoVITS/SoVITS_weights/directory. - Move
.ckptfiles to the./GPT-SoVITS/GPT_weights/directory.
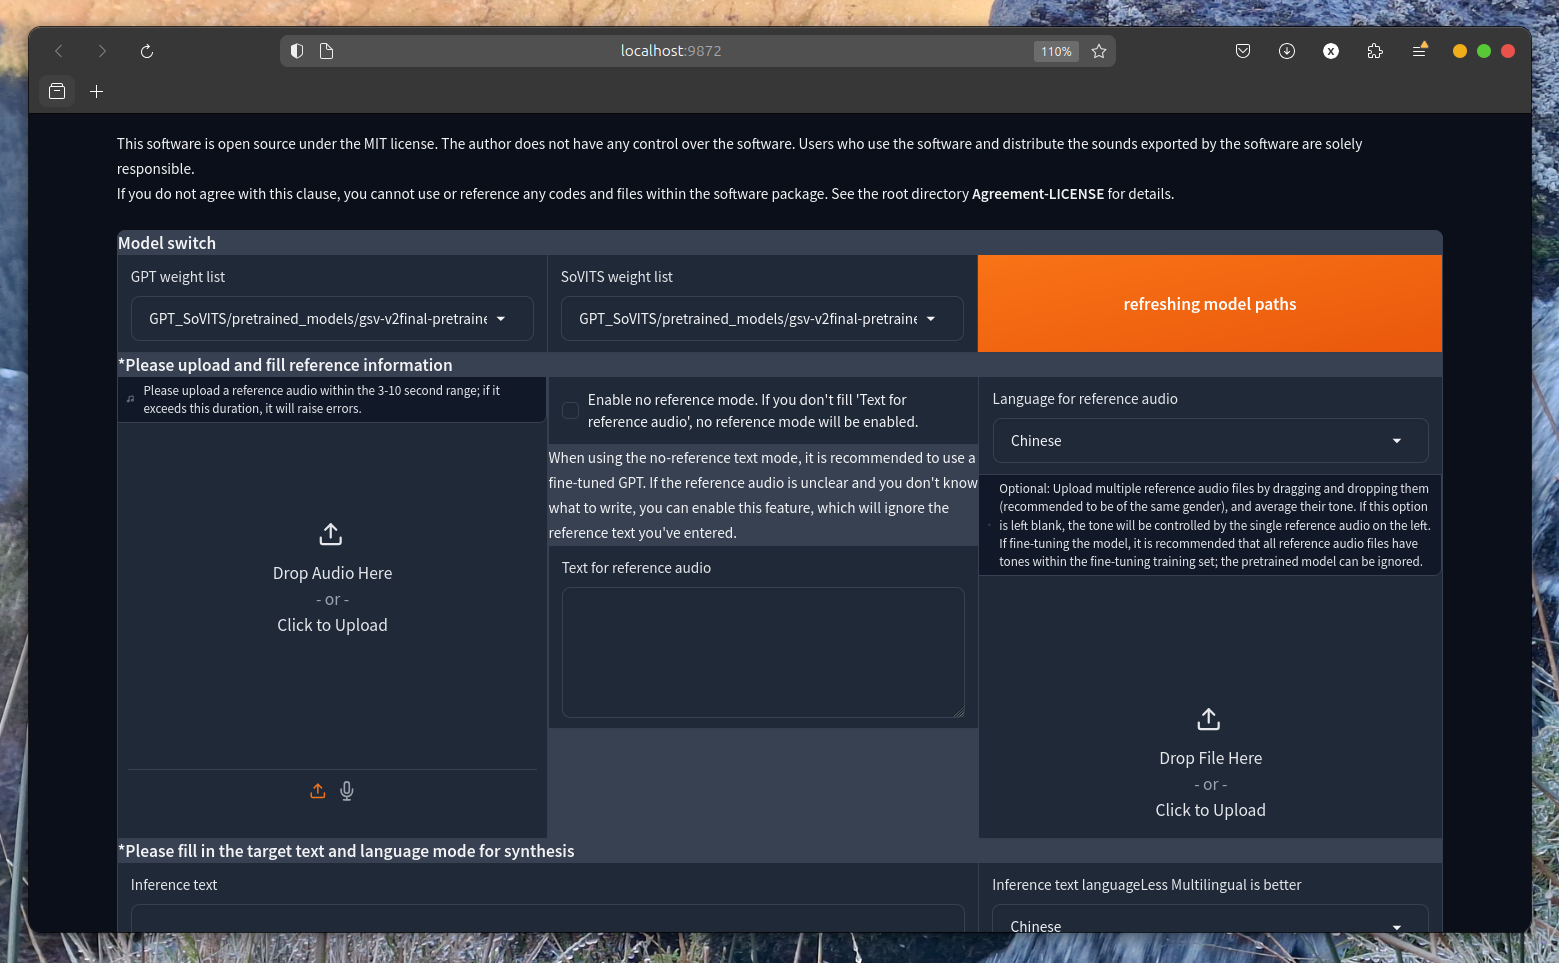
Step 10: Run Inference
Finally, run the inference script / fine tune the model:
Inference
- ROCm:
PYTORCH_ROCM_ARCH=gfx1101 python ./GPT_SoVITS/inference_webui.py - Standard:
python ./GPT_SoVITS/inference_webui.py
Fine-tuning
- ROCm:
PYTORCH_ROCM_ARCH=gfx1101 python ./webui.py - Standard:
python ./webui.py
Troubleshooting
- If you encounter errors like
NameError: name 'Tuple' is not defined, open the filepatched_mha_with_cache.pyand add the following import:
from typing import Tuple- If you encounter errors that mention
nltk, you might need to install thenltkpackage:
pip install nltkAfter installing nltk, you might also need to download the averaged_perceptron_tagger_eng model:
python -c "import nltk; nltk.download('averaged_perceptron_tagger_eng')"Conclusion
And there you go! You’ve successfully installed GPT-SoVITS with (or without) ROCm support. Enjoy generating lifelike speech with GPT-SoVITS and explore its full potential.